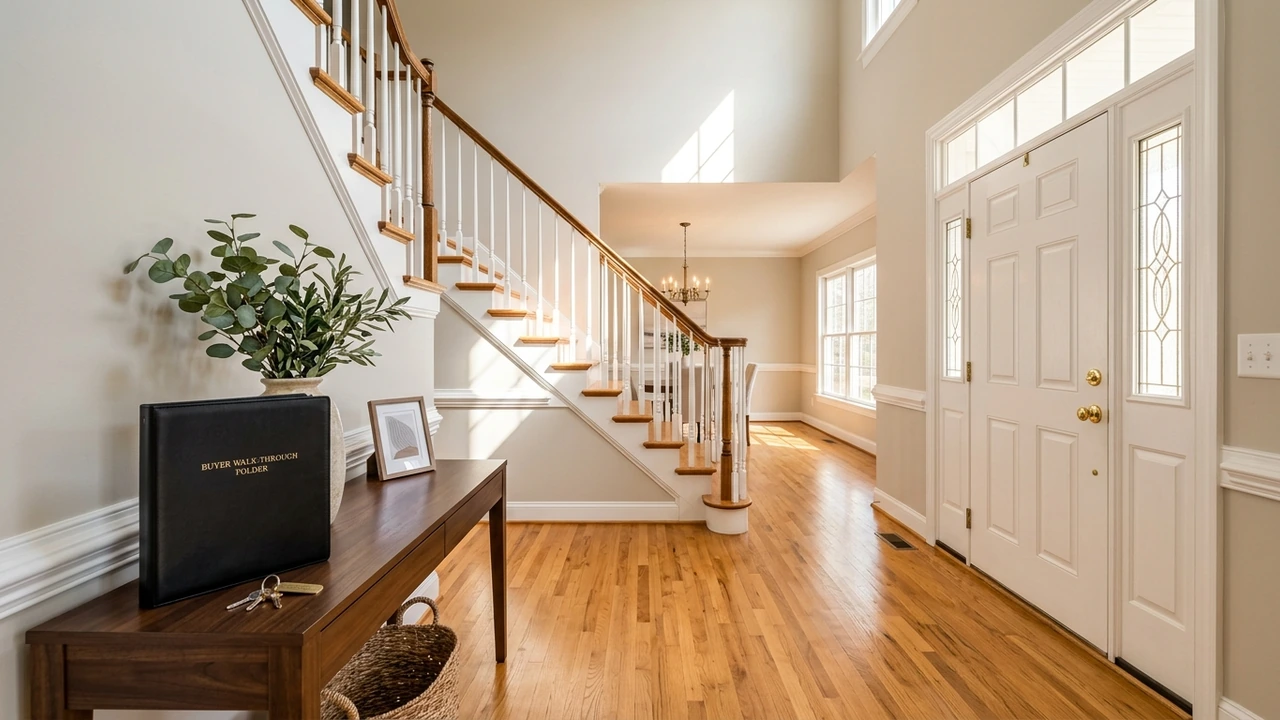
You are just days away from getting the keys to your new home. One last step stands between you and that front door: the final walk-through. This short visit is your last chance to check the house before you sign and the deal is done. Get it right, and you move in happy. Miss something, and you could pay for it long after closing.
What Is a Final Walk-Through?
A final walk-through is your last look at the home before closing. Closing is the day you sign the papers and the house officially becomes yours. You walk through each room, one by one. You check that the home is in the same shape you agreed to buy. This is not a second home inspection, and it is not a place to renegotiate the price.
Most buyers spend about 20 to 30 minutes on this walk, and a bit longer for a large house. You are really checking three simple things: that the agreed-upon repairs are done, that the seller’s belongings are gone, and that the appliances and systems still work. Think of it as a final safety net right before your money moves. It is quick, but it carries a lot of weight.
When Does the Final Walk-Through Happen?
In our field work, the timing of this walk can make or break it. I have watched buyers squeeze it into the same hour as their closing, then spot a dead furnace with no time left to fix anything. That is a stressful morning, and it is easy to avoid.
The final walk-through usually happens within 24 hours before closing. Some buyers do it the morning of the actual closing. Others do it the day before. I lean toward the day-before slot every time. It gives you a few extra hours to call your agent if something looks wrong, instead of holding up the signing table.
If the seller agreed to bigger repairs, ask to see those early, around 7 days before closing, not just at the very end. That way there are enough days left to get any problem fixed. A short early check plus a full final check is the safest combo I know.
Once your offer is accepted, a lot happens fast. If you want the full picture of the steps, our guide on what happens after your offer is accepted breaks it down in plain words. It helps you know where the walk-through fits in the timeline.
| When you walk the home | The good thing | Watch out for |
|---|---|---|
| Day before closing | Time to fix small problems | Seller may still be packing |
| Morning of closing | Home is usually empty | No time left if something breaks |
| About a week early (repairs only) | Catches repair issues early | Not a full final check |
Why the Final Walk-Through Matters So Much
Here is the plain truth: once you sign at closing, the house is yours, problems and all. If the water heater is dead when you move in, that repair bill lands on you, not the seller. That is why this last look is not just a formality. It protects the biggest purchase most people will make.
There is also real money on the line before you even sign. Your earnest money deposit, the “good faith” cash you put down to hold the deal, can be at risk if things go wrong the wrong way. You can learn how that money works in our guide on the earnest money deposit in Virginia. In the deals I have walked, about 8 out of 10 last-minute issues turn up right here, at the final walk, and not a day sooner.
Your walk-through rights often tie back to the deal’s fine print. Things like repair promises and inspection results live inside your contract terms. Our page on home sale contingencies in Virginia explains those safety clauses in simple language. Knowing them helps you push back the right way if the home is not as promised.
What to Bring to Your Final Walk-Through
I have handled cases exactly like this before, a buyer shows up with only their phone and forgets half of what the seller even agreed to fix. A short packing list fixes that. Bring the right papers, and you will move through the home with confidence instead of guessing.
Bring your signed purchase agreement above all. It lists every agreed-upon repair and every item that must stay in the home. On a typical deal there are 5 to 10 fixtures or repairs to confirm, so a written list keeps you honest. Do not trust your memory on the day your brain is buzzing about the move.
Here is a simple kit to carry with you:
- Your signed purchase contract and the repair list
- The home inspection report and any repair receipts
- A phone for photos and notes
- A phone charger or small lamp to test outlets
- A friend or your agent for a second pair of eyes
- Your keys or lockbox code, so you can get in
Your Room-by-Room Final Walk-Through Checklist
This is the heart of your visit. Walk the home in the same order every time so you never skip a room. Turn things on. Open things up. Look, listen, and touch. A slow, steady loop beats a fast, nervous one.
Use this quick chart as your map, then read the room notes below it:
| Area | Quick check | Red flag to catch |
|---|---|---|
| Kitchen | Run each appliance | A missing or swapped fridge |
| Bathrooms | Flush and run water | Slow drains or leaks |
| Heating/Cooling | Turn heat and AC on | No warm or cool air |
| Electric | Flip switches, test plugs | Dead outlets or lights |
| Doors/Windows | Open, close, lock | Broken locks or seals |
| Walls/Floors | Look for new marks | Fresh water stains |
| Outside | Check yard and garage | Left-behind trash |
Kitchen and Appliances
Start in the kitchen, since that is where the priciest appliances live. Turn on the stove, run the dishwasher for a minute, and open the fridge to feel for cold air. Check that the exact appliances in your contract are the ones still standing there. Sellers sometimes swap a nice fridge for an old one, and a 10-minute check catches that.
Look under the sink with your phone light. You want dry wood, not a slow drip. A small leak now can turn into a big mold bill in 3 to 6 months. Open a few cabinets and drawers too, just to be sure nothing is broken or jammed.
Bathrooms and Plumbing
Flush every toilet and watch the water rise and clear. Turn on the sink and tub taps, then check the water pressure. Weak flow or a slow drain can point to a clog or a bigger pipe problem. Feel around the base of each toilet for wet spots.
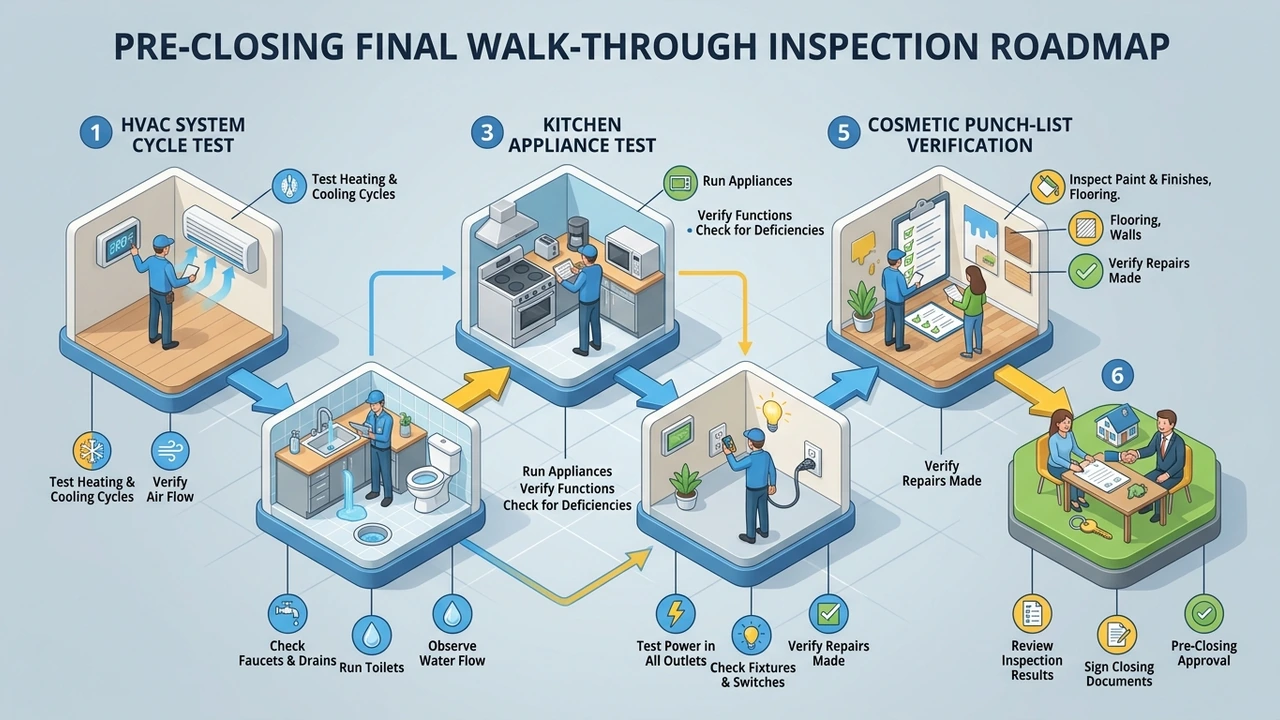
Hot water matters here. Let the tap run for 60 seconds and wait for it to warm up. If it stays cold, the water heater may be off or dead. That is a fix you want handled before, not after, you sign.
Heating and Cooling (HVAC)
Your HVAC, the system that heats and cools your home, is one of the most costly parts of any house. Turn the heat on and wait for warm air. Then flip it to cool and wait for cold air. Give each mode 5 to 10 minutes to prove it works.
I always test both, even in summer. A broken furnace hides easily when it is 90 degrees outside. Catching it now can save you a repair that often runs into the thousands of dollars.
Electrical, Outlets, and Lights
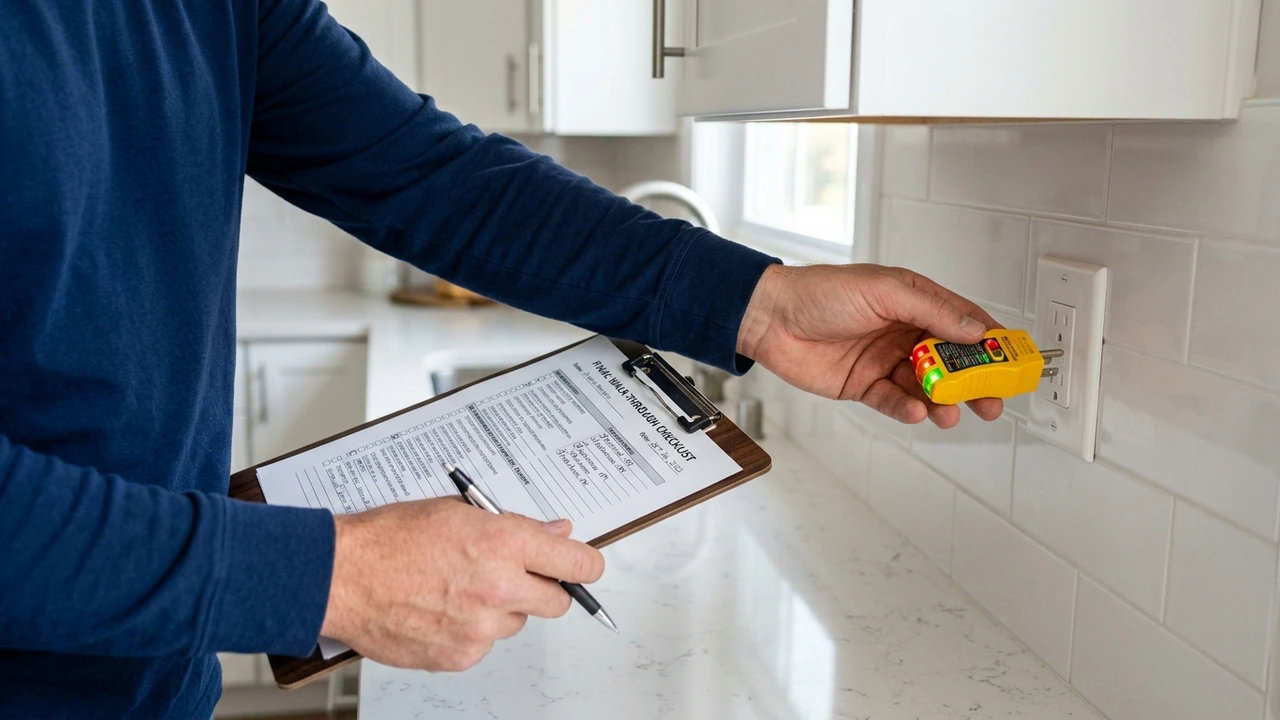
Walk the whole home and flip every light switch. Carry a phone charger and plug it into outlets as you go. Dead plugs can mean a tripped breaker or worse. On an average home, testing 15 to 20 outlets takes only a few minutes but tells you a lot.
Check the breaker box too, if you can find it. Look for anything switched off or labeled in a messy way. Small electric problems are common, but they should be fixed by the seller, not inherited by you.
Doors, Windows, Locks, and Security Systems
Open and close every door and window. They should move smoothly and shut tight. Test the locks on all outside doors, since these keep your family safe on night one. A sticky lock is a small thing that becomes a big worry after dark.
If the home has security systems or smart devices, ask how they work and whether the seller cleared their account. You do not want the old owner’s app still watching your living room. Getting the codes and logins handed over is part of a clean close.
Walls, Floors, and Ceilings
Scan the walls and ceilings for fresh stains, cracks, or new patches of paint. A new paint patch can hide a leak the seller found last week. Look up at ceilings under bathrooms, since that is where water shows first. Trust your eyes here.
Walk the floors and feel for soft or bouncy spots. When furniture moves out, hidden damage often shows up. In my experience, about 1 in 5 walk-throughs turns up a scuff or dent that was covered by a couch. Snap a photo of anything new.
Outside the Home
Step outside and circle the house. Check the yard, the fence, the gutters, and the garage door. Make sure the seller did not leave a pile of trash or old paint cans behind. A messy yard can hide broken sprinklers or a cracked walkway.
Open the garage with the remote if there is one. Test that it goes up and down and stops when it should. This is a safety part that many buyers skip, and it can cost around $150 to $300 to repair later.
If you are buying in the Richmond area and want a second set of eyes on your walk, our team at Buy & Sell Richmond is glad to walk the home with you. We can point out things that are easy to miss when you are excited about the keys.
Check That Agreed-Upon Repairs Are Done
In our field work, I have found that repairs are where deals go sideways at the last minute. A seller promises to fix the roof leak, then hands over a shrug and no receipt. This section of your walk deserves your full focus, because it is money you already negotiated for.
Pull out your repair list and match it item by item. For each fix, ask for proof, a receipt, a warranty, or a clear look at the work. On the deals I handle, roughly 1 in 4 repair promises show up done poorly or only half-finished. Do not accept “trust me.” Accept paper and your own two eyes.
Take photos of every completed repair and note the date. If a fix looks wrong, do not sign and hope. Flag it right away so your agent has time to act. Written proof today saves you a painful “he said, she said” fight later.
Make Sure the Seller’s Belongings Are Gone
The home should be empty of the seller’s belongings, unless your contract says a few items stay. That means no old furniture, no boxes in the attic, and no junk in the garage. An empty home is a clean start, and it is also a sign the seller kept their word.
Check the sneaky spots: the attic, the basement, the shed, and the back of closets. I once found a full storage unit’s worth of stuff hiding in a crawl space on closing day. Hauling away someone else’s junk can cost you $200 to $500, so make the seller clear it first.
Trash counts too. If the home is full of garbage bags, that is the seller’s job to remove, not yours. A quick note to your agent usually gets it handled before you sign.
Test the Safety Systems: Smoke and Carbon Monoxide Alarms
Do not skip the small stuff that keeps your family alive. Press the test button on every smoke alarm and every carbon monoxide alarm. These systems are cheap to fix and priceless to have working on your first night in the home.
The numbers here are strong. Working smoke alarms cut the risk of dying in a home fire by about 60 percent, according to research from the National Fire Protection Association. That is a huge payoff for a device that costs a few dollars and one battery.
Carbon monoxide is just as serious, and you cannot see or smell it. Each year, more than 400 Americans die from accidental carbon monoxide poisoning not tied to fires, and more than 100,000 end up in an emergency room, the CDC reports. So test that alarm, and if the home has none near the bedrooms, add them before you settle in.
While you are at it, confirm the security systems and outside locks all still work. Safety on day one is the whole point of this careful walk.
Review Your Closing Papers Before You Sign
The walk-through checks the house. Your paperwork check protects your wallet. Before you put a pen to your final documents, make sure the numbers match what you were promised. A five-minute read can save you thousands.
Federal law is on your side here. Your lender must give you the Closing Disclosure, the form that lists your loan terms and every fee, at least three business days before closing, per the Consumer Financial Protection Bureau. Use those three days. Compare it line by line to your first loan estimate and ask about anything that jumped.
A few plain-word terms help here. Escrow is a neutral account that holds the money until the deal is done. Title is the legal proof that you own the home. Once the money has cleared escrow and the title transfers, the house is truly yours.
| Document | What to check for |
|---|---|
| Closing Disclosure | Loan amount, rate, and total fees |
| Title / deed | Your name spelled right |
| Loan estimate | Any big change in cost |
| Proof of repairs | Receipts for agreed fixes |
| Insurance | Coverage starts on closing day |
Fees can add up fast, and many buyers feel caught off guard. Our guide on closing costs when selling a home in Virginia also helps buyers see which costs are normal and which deserve a question. Reading it before signing day keeps surprises to a minimum.
What Happens If You Find a Problem?
In our field work, finding a problem at the walk is not the end of the world, it is why you showed up. The worst move is to sign anyway and hope it works out. Once you have signed, your power to push back drops to almost zero. So pause, breathe, and call your agent.
You have real choices, and most get sorted in a day or two. Here are the common ones:
- Ask the seller to fix it before you sign
- Ask for a repair credit, so you fix it after and they pay
- Set up an escrow holdback, where money is held until the fix is done
- Delay the closing by a day or two to get it right
A repair credit is often the fastest fix. If you are not sure what a fair credit looks like, our guide on how to negotiate home sale offers shows how to talk numbers with the other side. And if a repair got missed on your deal, we can help you price it and speak with the seller’s agent so nothing stalls your close.
Common Final Walk-Through Mistakes to Avoid
Even careful buyers slip up when the finish line is close. Excitement makes people rush, and rushing costs money. From years of walking homes with clients, these are the mistakes I see most, and each one is easy to dodge.
- Doing the walk the same hour as closing, with no time to fix issues
- Leaving your contract at home and trusting your memory
- Skipping the attic, basement, and garage
- Not testing heat and AC because of the season
- Forgetting to check that utilities are still on
- Signing your final documents before reading the numbers
Roughly 9 out of 10 of these problems vanish if you simply slow down and use a written list. The walk is not a race. Give it the 30 minutes it deserves, and you protect months of peace.
A Local Note for Richmond, Virginia Buyers
I have seen this pattern many times in my Richmond work: our older homes hide their surprises well. Neighborhoods like Church Hill and Manchester have beautiful historic houses, and many are 80 to 100 years old. Old charm can come with old pipes, so run the water and test the heat with extra care.
Virginia weather adds its own twist. Our humid summers push moisture into basements and crawl spaces, where leaks love to hide. Check those low, dark spots closely during your walk. What looks like a small damp patch in July can grow fast by fall.
Sellers here have rules to follow too, like sharing known problems up front. You can read about those duties in our guide on seller disclosure requirements in Virginia. If you are selling and want your walk-through to go smoothly, we can help you prep the home so nothing holds up your closing day.
Bringing It All Together
Your final walk-through is short, but it guards the biggest buy of your life. Walk each room, test the systems, match the agreed-upon repairs to your list, and make sure the seller’s belongings are gone. Then read your final documents with care before you sign and let the money clear escrow.
Do these steps slowly, and closing day feels like a celebration instead of a gamble. You will step through your own front door knowing the home is truly ready. That calm feeling is worth every minute of the walk.
Frequently Asked Questions
Can I back out after the final walk-through?
You can, but it depends on your contract. If the walk-through shows the seller broke a promise, your contingency clauses may let you delay or cancel. Once you have signed at closing, though, backing out gets very hard. Talk to your agent fast if something feels wrong, ideally within 24 hours.
What if the seller’s stuff is still in the home?
Leftover seller’s belongings are the seller’s problem to clear, not yours. If you find boxes, old furniture, or trash, tell your agent right away and do not sign until it is handled. Hauling junk yourself can cost $200 to $500. Give the seller a short deadline to remove it before closing.
Do I need my agent at the walk-through?
You do not have to bring your agent, but I strongly suggest it. A good agent knows what to test and how to flag problems the right way. On about 9 out of 10 of my client walks, a second set of trained eyes catches something the buyer missed. It costs you nothing extra and adds real safety.
What if the utilities are turned off?
If the power or water is off, you cannot test the appliances, heat, or plumbing. Ask the seller in writing to keep utilities on until after closing. Without them, you are walking blind on some of the priciest systems. Push to reschedule the walk if you must, rather than skipping the tests.
How long does a final walk-through take?
Plan for about 20 to 30 minutes for a normal home, and up to an hour for a big or older house. Do not rush it just because closing is near. A slow, careful loop through every room is your last free check before the keys and the bills become yours.